Deep Learning Setup on Windows 10

I used to work on a Mac and don’t bother configuring for Deep Learning. However, as Windows is not supported by nvidia_docker, I had to find a way. Here is my new Deep Learning development setup on Windows 10.
We’ll cover how to set up:
- Windows Subsystem for Linux
- Zsh and Oh My Zsh
- A pretty terminal with Hyper.Js
- Deep Learning environment
WSL
Kesako?
Recently, Microsoft has put a lot of effort into attracting developers on Windows and as a consequence, they released Windows Subsystem for Linux. It enables to run most common command-line tools, utilities, and applications directly on Windows without the overhead of a virtual machine.
Installation
To begin with, the Windows Subsystem for Linux feature needs to be enabled via a Powershell prompt as an administrator:
Enable-WindowsOptionalFeature -Online -FeatureName Microsoft-Windows-Subsystem-LinuxReboot your computer.
Then, since Fall Creators Update you can directly install a Linux distro via Microsoft Store.

You’ll find more detailed instructions on the Microsoft documentation. For this tutorial, I have chosen Ubuntu 16.04.
Oh My Zsh
Install Zsh
To begin with, install zsh via the command line:
sudo apt-get install zshthen set it as your default shell by inserting at the top of ~/.bashrc :
bash -c zshGet rid of your host description by adding at the top of your ~/.zshrc :
DEFAULT_USER=`whoami`Install Oh My Zsh
You can get Oh My Zsh with this command:
sh -c "$(curl -fsSL https://raw.githubusercontent.com/robbyrussell/oh-my-zsh/master/tools/install.sh)"You can install plugins for your own comfort like autocompletion for Docker, Git via ~/.zshrc. I use the agnoster theme.
Hyper.js
Install Hyper.js
The program can be downloaded from the official website. I applied the verminal theme by adding plugins: ['verminal'] in the preferences (ctrl + ,), and after installing some Mono font I add:
verminal: {
    fontFamily: "UbuntuMono NF",
    fontSize: 14
}
Finally, edit the shell path in config by setting shell: 'C:\\Windows\\System32\\bash.exe'.
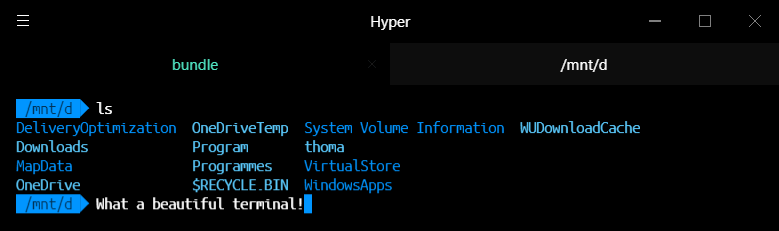
Prettify the output
Here is a little trick1 to prettify the output, because it is quite ugly by default. Add the following to your ~/.zshrc:
#Change ls colours
LS_COLORS="ow=01;36;40" && export LS_COLORS

#make cd use the ls colors
zstyle ':completion:\*' list-colors "${(@s.:.)LS_COLORS}"
autoload -Uz compinit
compinit
Deep Learning environment
Anaconda
To begin with, you need to create a Python environment via Anaconda. Go the official website and download the Anaconda 64-bit installer for Windows.
Once installed, you can open the Anaconda Prompt to update conda (conda update conda) and basic packages (conda update --all). You can easily create a new deep_learning environment and install the packages you want (like numpy, scipy, tensorflow, tensorflow-gpu, keras, Pillow).
CUDA Toolkit
Download Cuda Toolkit 9.2 via Nvidia website.

Note that depending on how old you GPU is, you might need to install an older version of CUDA.
cuDNN
In order to download the final piece, you need to sign up for Nvidia Developer. Agree to the terms, and download cuDNN v7.2.1 Library for Windows 10 or whatever version dedicated to the version of CUDA you downloaded.
It’s time to test!
Copy the Python script from Keras example concerning MNIST dataset and verify the output, it should use your GPU and take between 15-20 sec per epoch.
Final words
Now you’re good to go! Let me know if you found it useful or if you have any questions.
Links
Footnotes
Credits to lloydstubber ↩